Print posters
Guidelines
•
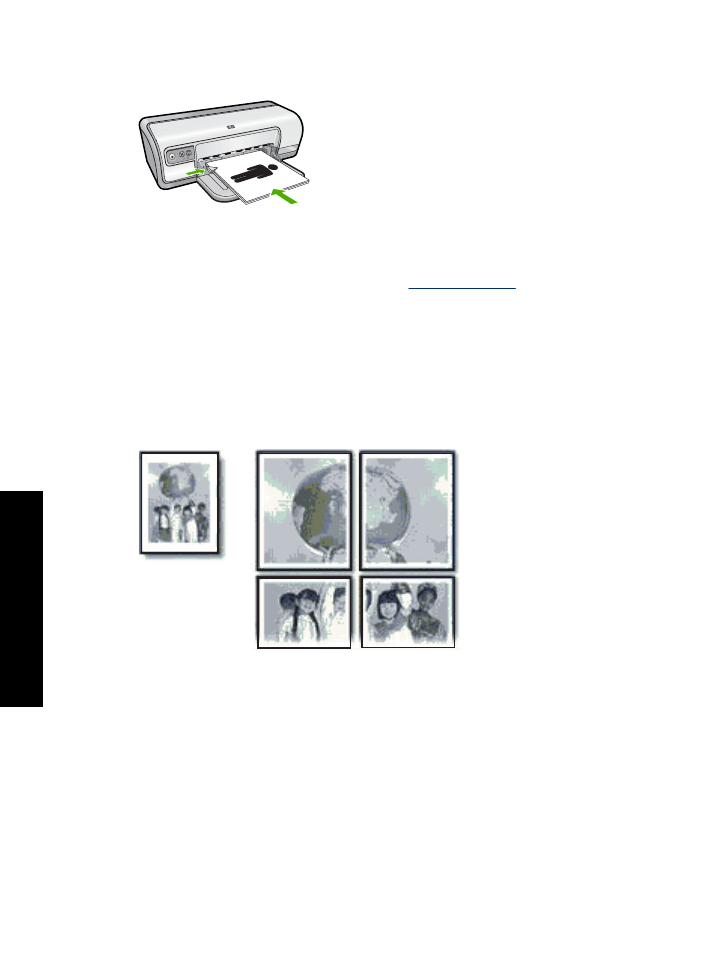
For poster printing, sections of the poster are automatically arranged on individual
sheets that can be taped together. After the sections of a poster have been printed,
trim the edges of the sheets and tape the sheets together.
•
Do not exceed the paper tray capacity: 80 sheets of paper.
Prepare to print
1.
Slide the paper guide all the way to the left.
2.
Place plain paper in the right side of the tray. The side to be printed on should face
down.
Chapter 6
36
Print other documents
oth
er
d
o
cum
ent
s

3.
Push the paper into the printer until it stops.
4.
Slide the paper guide firmly against the edge of the paper.
Print
1.
Open the
Printer Properties dialog box
.
2.
Click the
Features
tab, and then specify the following print settings:
•
Paper Type
:
Plain paper
•
Orientation
:
Portrait
or
Landscape
•
Size
: An appropriate paper size
3.
Click the
Advanced
tab, and then click
Printer Features
.
4.
In the
Poster Printing
drop-down list, select the number of sheets for the poster.
5.
Click the
Select Tiles
button.
6.
Check that the number of tiles that are selected matches the number of sheets for
the poster, and then click
OK
.
7.
Select any other print settings that you want, and then click
OK
.
Use the
What's This?
help to learn about the features that appear in the Printer
Properties dialog box. For more information, see
What's This? help
.